
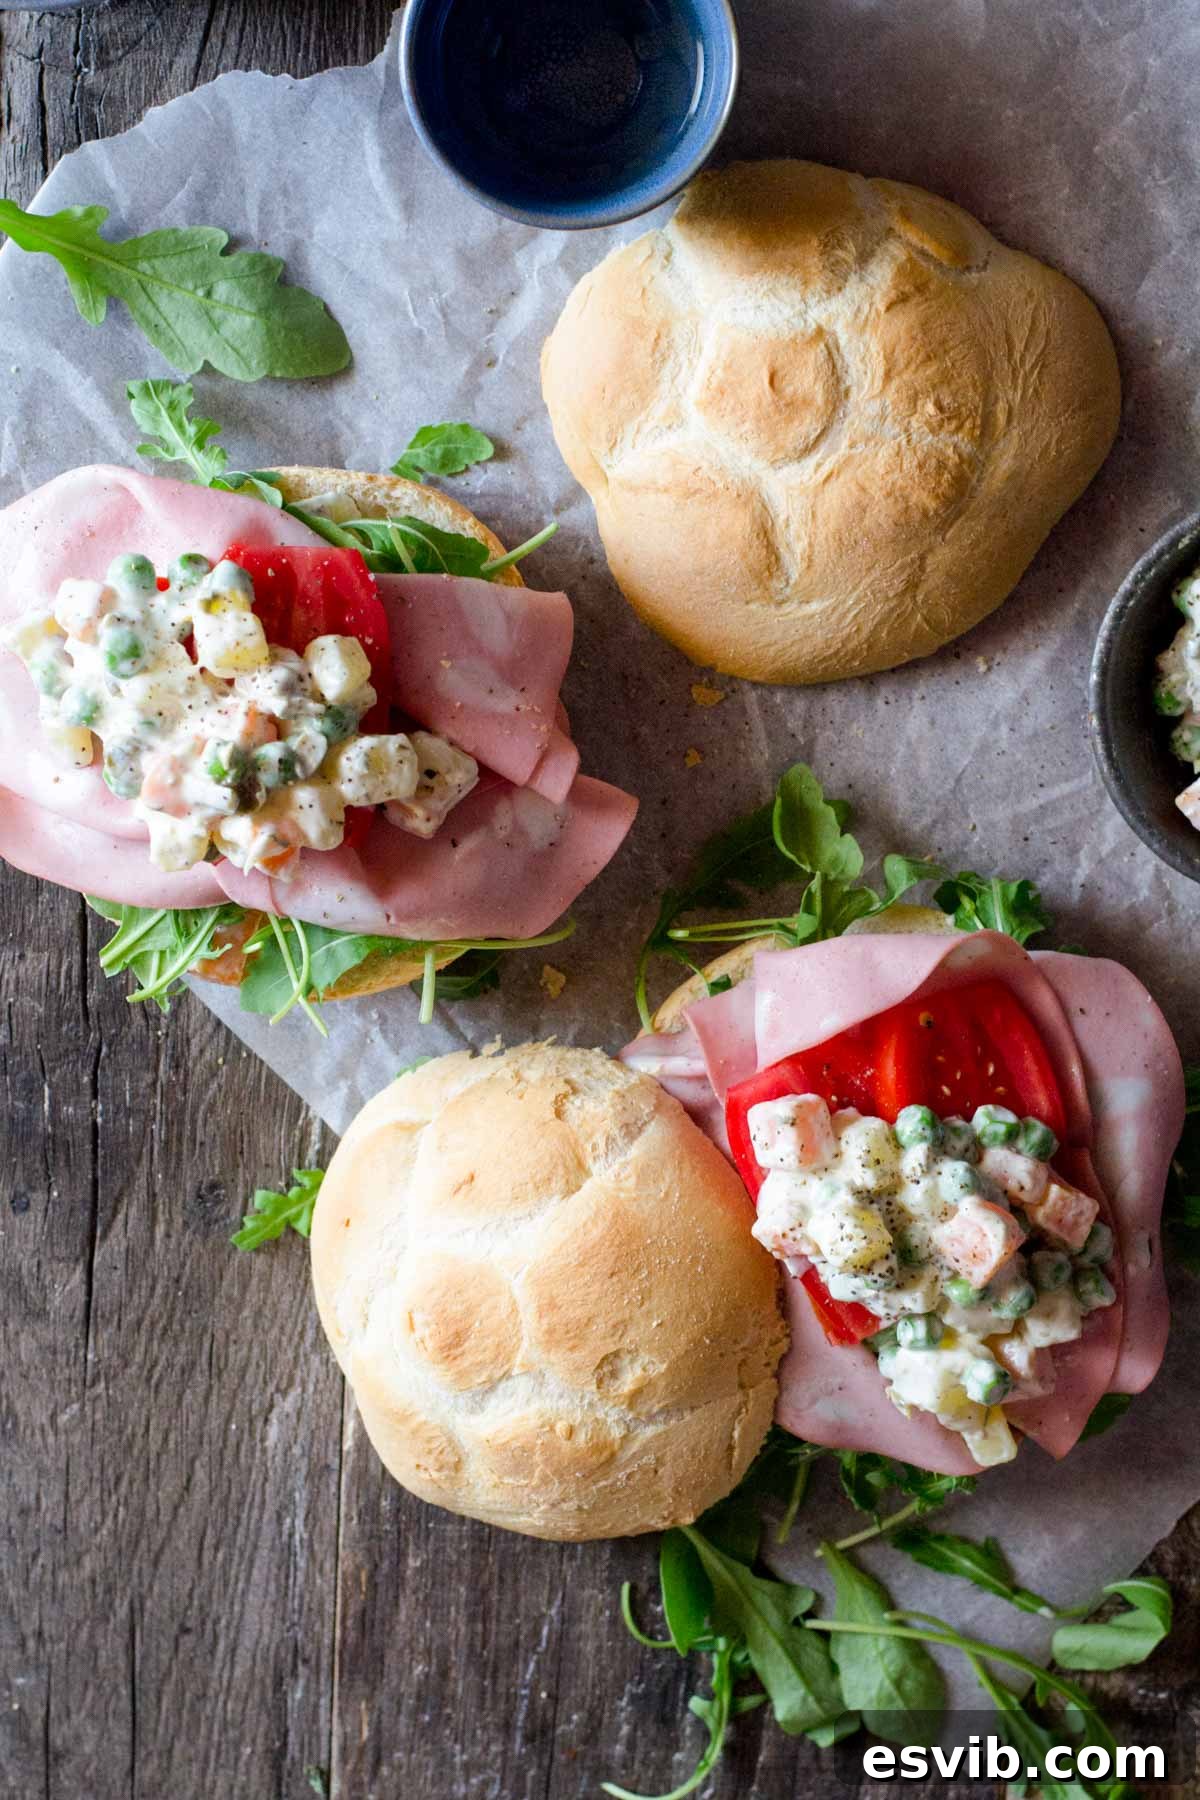
Easy Russian Salad (Olivier Salad / Insalata Russa): A Timeless Classic
Dive into the delightful world of Russian Salad, a truly iconic dish known globally by many names, including Olivier Salad in Russia and Eastern Europe, and Insalata Russa in Italy. This creamy, satisfying salad is a testament to simple ingredients coming together to create an unforgettable flavor experience. Featuring tender peas, perfectly cooked carrots, and soft potatoes, all enveloped in a rich, tangy mayonnaise-based dressing, it’s a versatile staple that’s incredibly easy to prepare.
Whether you’re looking for a quick and delicious sandwich filling, a refreshing side dish for your barbecue, or an elegant appetizer for an Italian aperitivo, this classic Russian Salad recipe will quickly become a favorite. Its robust texture and harmonious blend of flavors make it a crowd-pleaser for any occasion.
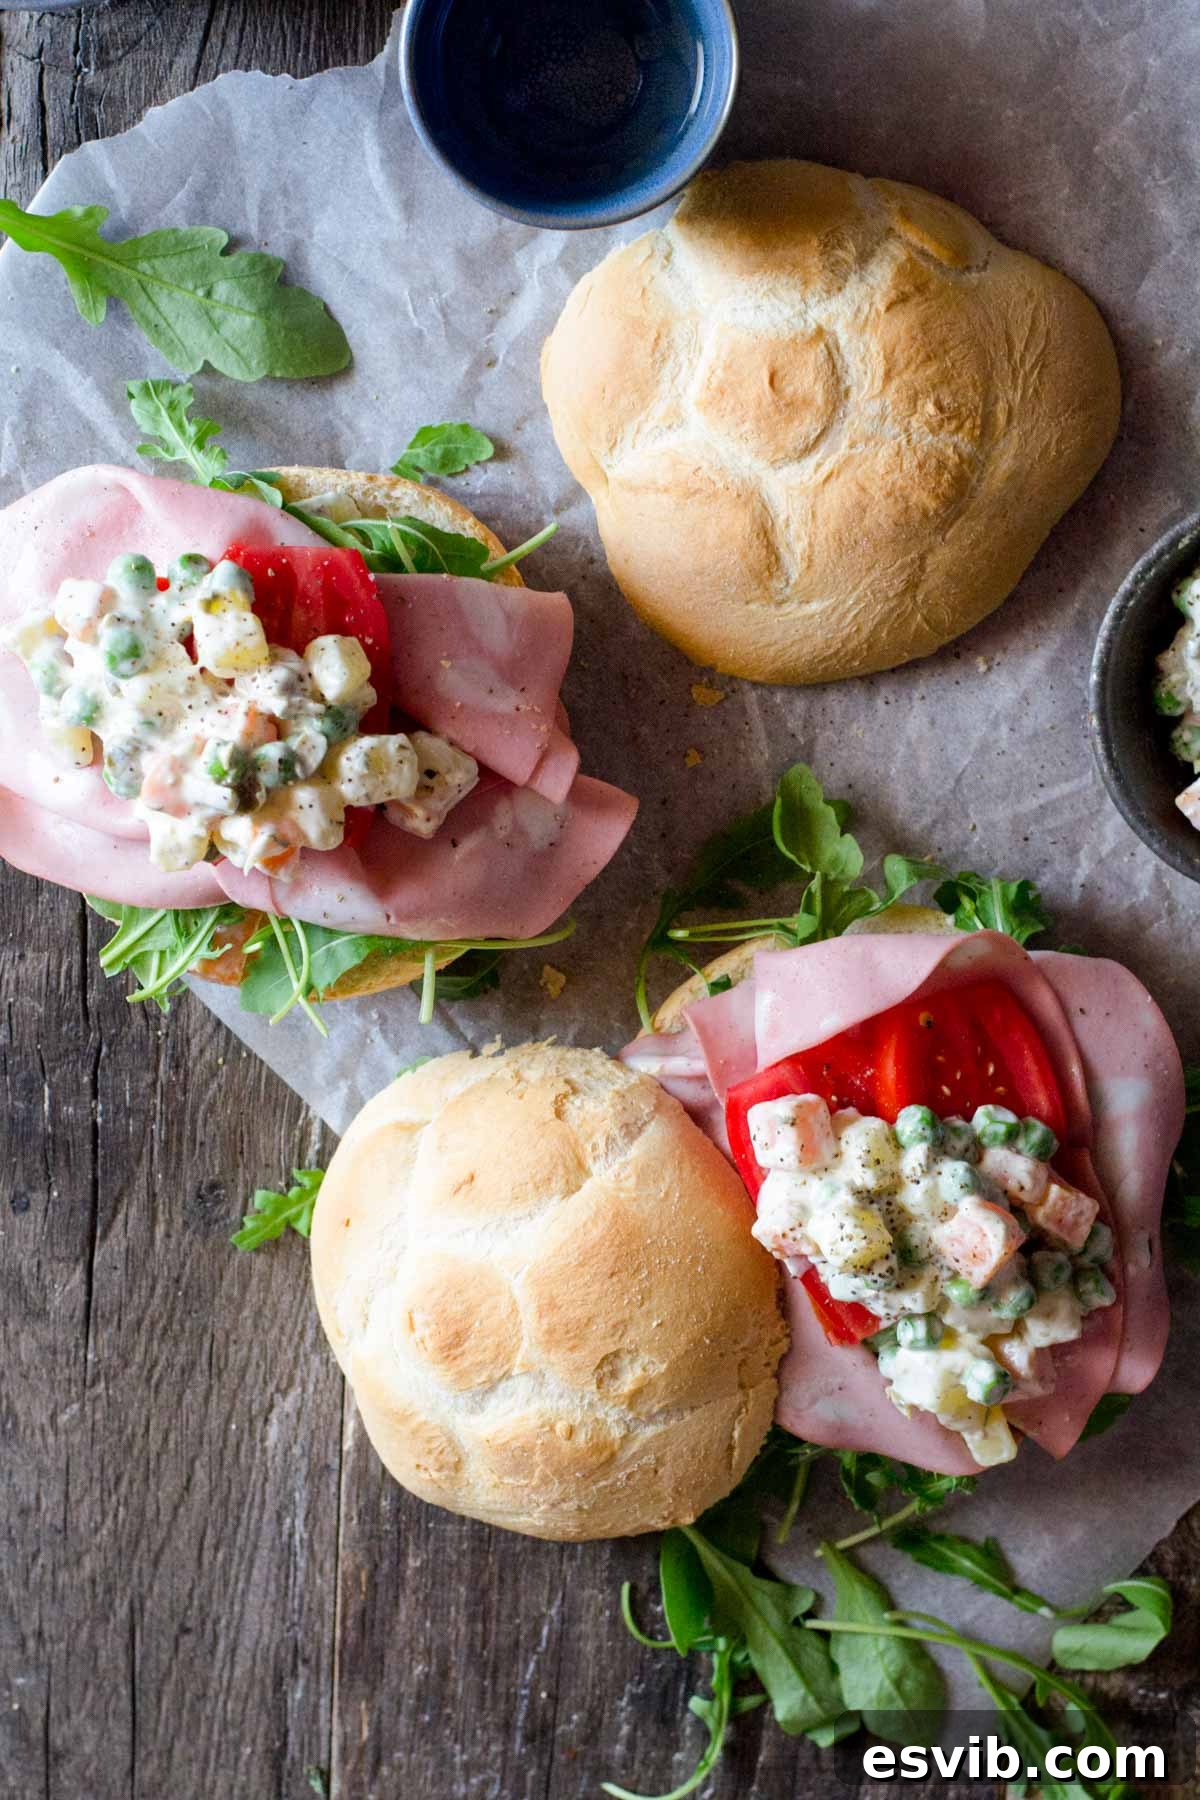
The Fascinating History of Russian Salad
My first encounter with Russian Salad, or Insalata Russa as it’s affectionately known, was during my time living in Italy. While not traditionally Italian, it holds a beloved place in Italian cuisine, found in nearly every supermarket and delicatessen. But its true origins, as the name suggests, lie in Russia, where it’s famously known as “Salade Olivier” or simply “Olivye.”
This culinary masterpiece was first created in the 1860s by Lucien Olivier, the chef of the Hermitage restaurant in Moscow. The original recipe was a closely guarded secret and reportedly contained an array of luxurious ingredients like grouse, veal tongue, caviar, lettuce, smoked duck, capers, and a special French mayonnaise. Over time, as the recipe spread and became more accessible, its ingredients evolved, leading to the more humble yet equally delicious version we know and love today.
The salad’s enduring popularity, especially around festive occasions like New Year’s Eve in Russia and other post-Soviet countries, speaks volumes about its comforting and celebratory nature. Its journey across borders and cultures has resulted in countless regional variations, each adding its unique touch. This recipe, however, focuses on a simple, classic rendition that captures the essence of this beloved dish, making it perfect for both newcomers and seasoned fans alike.
Crafting Your Perfect Russian Salad: A Step-by-Step Guide
Creating this delicious Russian Salad is surprisingly straightforward. The key lies in careful preparation of the vegetables and a perfectly balanced dressing. Here’s how to bring this classic to life in your kitchen:
Step 1: Prepare and Cook the Vegetables
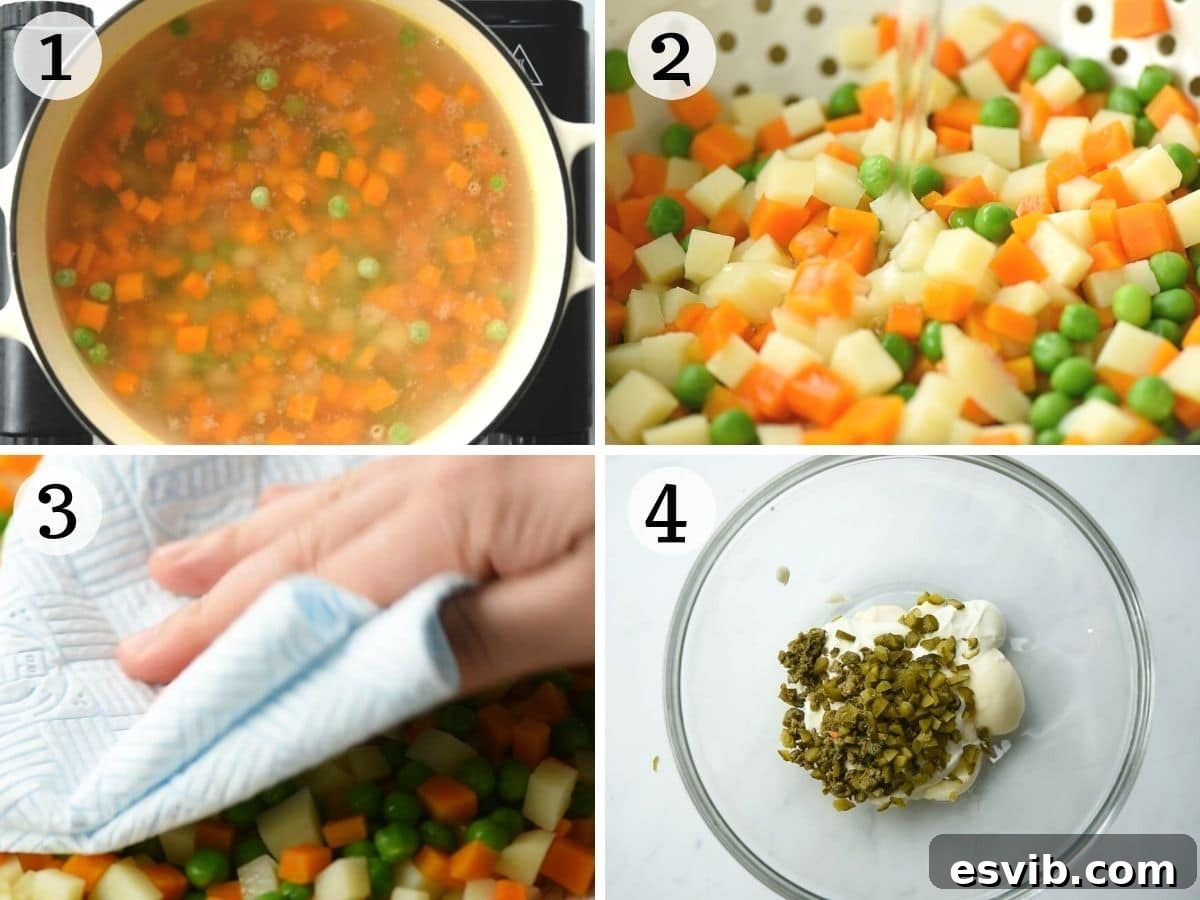
Begin by peeling and chopping your carrots and potatoes into small, uniform cubes. Aim for pieces roughly the same size as your peas; this ensures everything cooks evenly and contributes to a pleasant texture in the final salad. Place the diced carrots and potatoes into a pot of lightly salted boiling water. Cook them until they are just tender and cooked through, but still hold their shape – usually about 3-4 minutes, depending on the size of your dice. Overcooked vegetables can turn mushy, so keep a close eye on them.
Just one minute before you plan to drain the vegetables, add the frozen peas to the pot. This quick blanching ensures the peas are tender and bright green without losing their fresh flavor. Once all vegetables are cooked to perfection, drain them immediately. To stop the cooking process and preserve their vibrant color and firm texture, run them under cold water until they are completely cool. Afterward, pat them thoroughly dry with a kitchen towel or paper towels. This step is crucial to prevent a watery salad and ensure the dressing adheres beautifully.
Step 2: Create the Tangy Dressing
The dressing is what truly elevates this Russian Salad, providing its signature creamy and tangy profile. Finely chop the capers and gherkins (also known as pickles). These small but mighty ingredients are essential; they infuse the dressing with a wonderful briny, tangy, and slightly sour flavor that perfectly complements the sweetness of the vegetables. The finer you chop them, the more evenly their flavor will distribute throughout the salad.
In a medium-sized bowl, combine the finely chopped capers and gherkins with mayonnaise and sour cream. The sour cream adds an extra layer of richness and a delightful tang that balances the richness of the mayonnaise. Season the mixture with a pinch of salt and freshly ground black pepper. Whisk everything together until the dressing is smooth, well combined, and all the flavors are harmoniously blended. Taste and adjust seasoning as needed – you might want a little more tang or a touch more salt.
Step 3: Combine and Serve
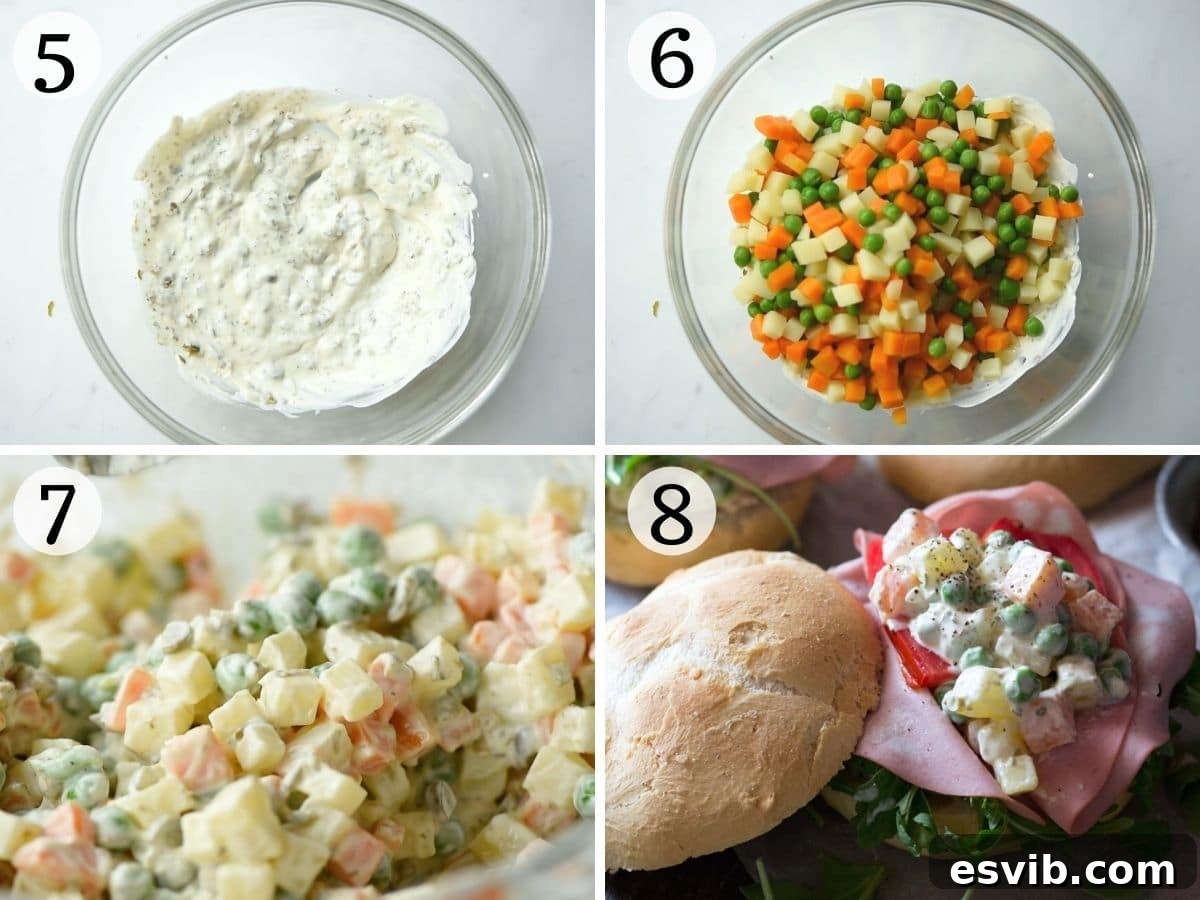
Gently add the thoroughly cooled and dried cooked vegetables to the creamy dressing. Using a spatula or large spoon, carefully fold the vegetables into the dressing until every piece is thoroughly coated. Be gentle to avoid mashing the potatoes and carrots. Once mixed, your Russian Salad is ready to be enjoyed!
For the best flavor, allow the salad to chill in the refrigerator for at least 30 minutes before serving. This resting period allows the flavors to meld and deepen, resulting in an even more delicious and cohesive salad. Serve it as a delightful side dish, a vibrant addition to other salads, or, as many enjoy it, piled high on fresh sandwiches.
Delightful Serving Suggestions for Russian Salad
One of the many charms of Russian Salad is its incredible versatility. Here are some of my favorite ways to enjoy this classic:
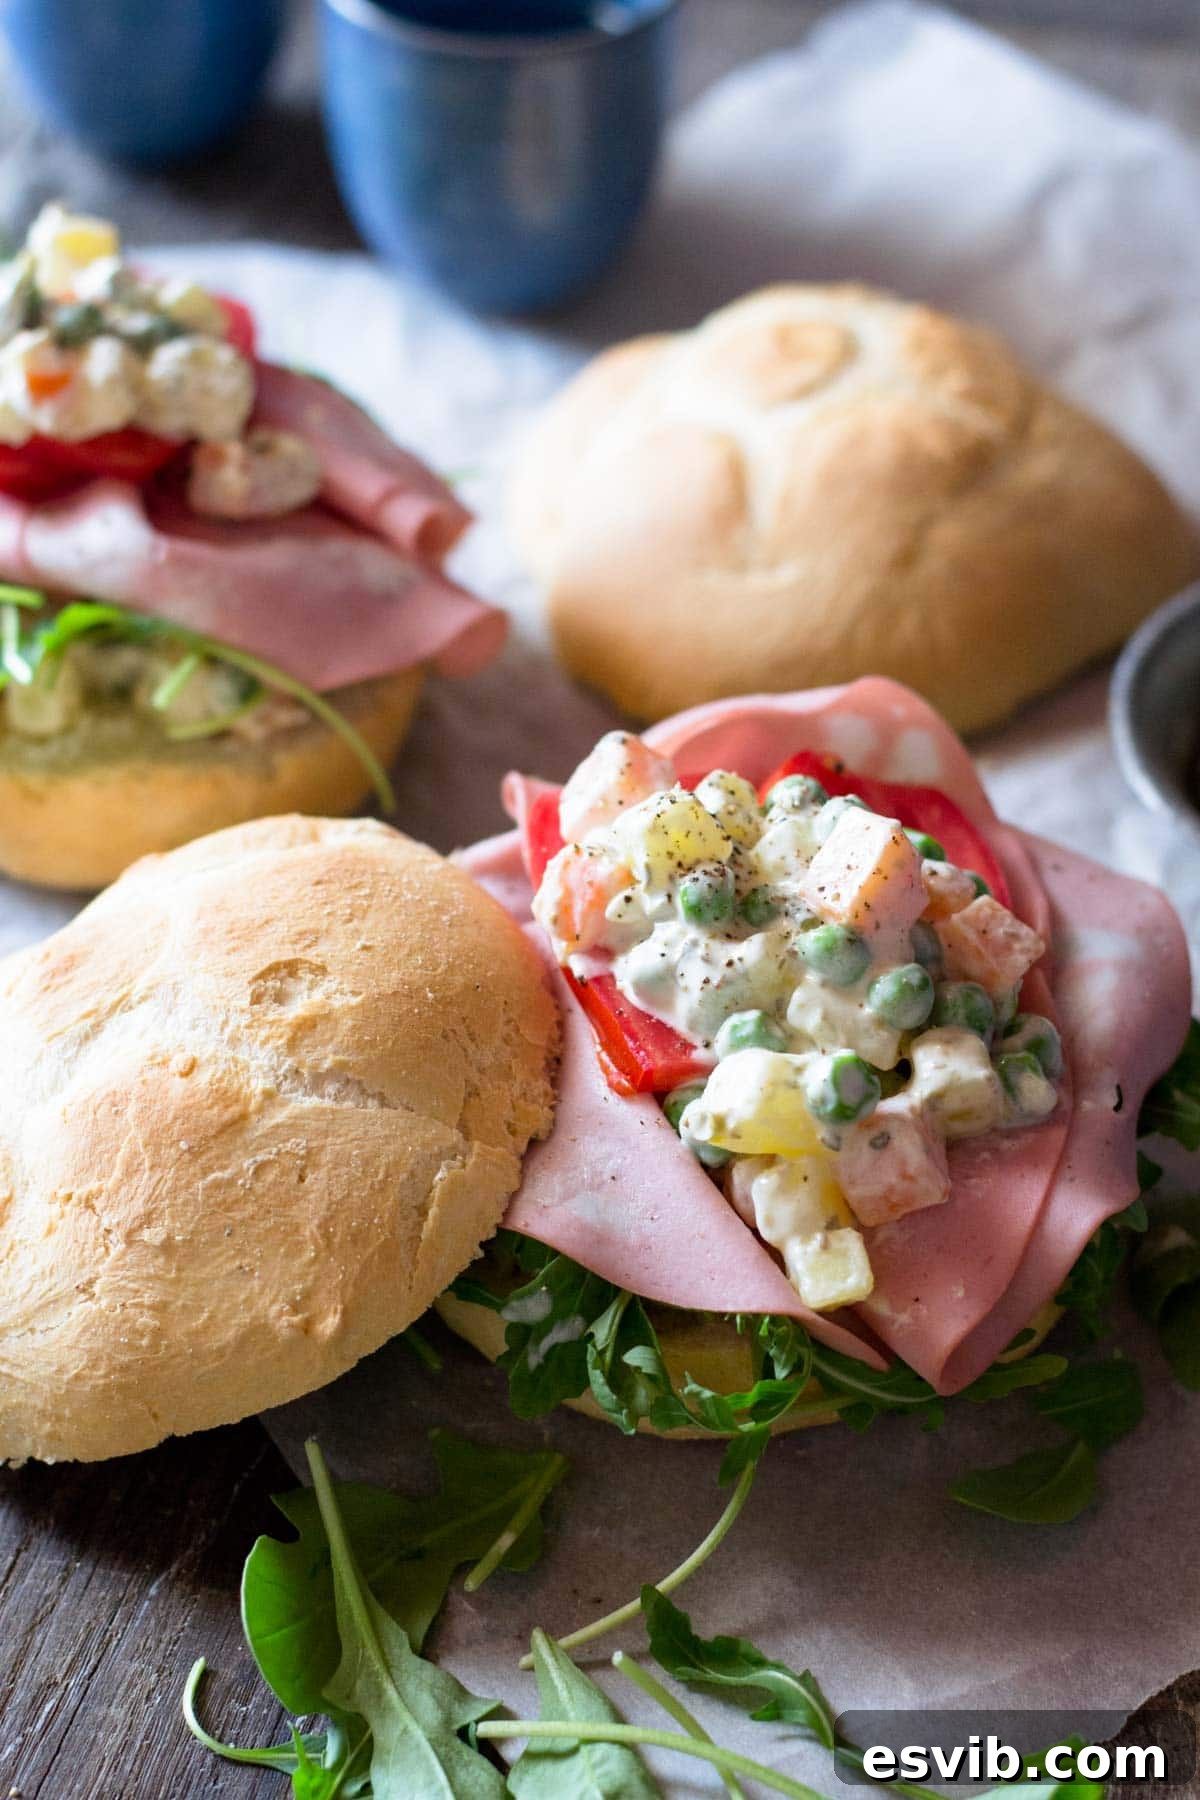
- On Sandwiches: My absolute favorite way to savor this salad is generously spread on soft, fresh bread or crunchy baguette slices. It makes for a profoundly satisfying and flavorful sandwich filling, perfect for lunchboxes, picnics, or a light meal. Pair it with a crisp lettuce leaf for added crunch.
- As an Appetizer (Aperitivo): Embrace its Italian alias, Insalata Russa, by serving it on toasted bread rounds as a type of bruschetta. It’s an elegant and incredibly tasty bite-sized treat, ideal for an Italian aperitivo alongside your favorite drinks and other small bites. You can also serve it in small individual cups for a chic presentation.
- Picnics and Barbecues: This creamy salad is the quintessential side dish for any outdoor gathering. Its ability to be prepared in advance and served cold makes it a perfect companion for grilled meats, hot dogs, burgers, or alongside other summer salads at a barbecue or picnic.
- Holiday Tables: In many cultures, Olivier Salad is a traditional fixture on holiday tables, especially during New Year’s celebrations. Serve it in a large, decorative bowl as part of a festive spread.
- With Smoked Salmon or Cured Meats: For a more gourmet touch, serve a dollop of Russian Salad alongside slices of smoked salmon or a selection of cured Italian meats. The rich flavors complement each other beautifully.
Expert Tips for Success & Recipe FAQs
- Uniform Dicing is Key: For the best texture and even cooking, ensure your potatoes and carrots are cut into small, roughly uniform cubes, ideally not much larger than the peas. This also makes for a more appealing presentation.
- Don’t Overcook Vegetables: Boil the vegetables until they are just tender-crisp. Overcooking will result in a mushy salad, which is less enjoyable. Cooling them quickly under cold water immediately after draining is vital to halt the cooking process.
- Thoroughly Dry Vegetables: After cooling, pat the vegetables completely dry. Any excess moisture will dilute the dressing and make the salad watery.
- Customization and Variations: This salad is wonderfully adaptable! Feel free to incorporate your favorite additions or use up leftovers. Common variations include:
- Proteins: Finely chopped ham, cooked chicken, or even smoked sausage.
- Eggs: Diced hard-boiled eggs add richness and another layer of texture.
- Herbs: Fresh parsley or dill, finely chopped, can brighten the flavor profile.
- Extra Tang: A teaspoon of Dijon mustard can be added to the dressing for an extra kick.
- Other Vegetables: Some versions include finely diced apples or celery for added crunch and sweetness.
- Resting Time for Flavor: While delicious immediately, Russian Salad benefits greatly from a period of chilling in the refrigerator. Allowing it to rest for at least an hour (or even overnight) lets the flavors meld and intensify, making it even more delicious.
How long does Russian Salad last?
Russian Salad will keep well when stored in an airtight container in the refrigerator for 3-4 days. Due to its mayonnaise base and fresh ingredients, I do not recommend freezing it, as the texture of the vegetables and dressing will change significantly upon thawing.
More Italian Snack & Appetizer Recipes You Might Like
If you loved this Insalata Russa and are looking for more delicious European-inspired snacks and appetizers, be sure to explore these other fantastic recipes from our kitchen:
- Italian Farinata Chickpea Flatbread (La Cecina Toscana)
- Chicken Pesto Ciabatta
- Stracchino and Sausage Crostini
- Classic Bruschetta al Pomodoro
If you’ve tried this Easy Russian Salad or any other recipe from our blog, please share your experience in the comments below! Your feedback means a lot to us. You can also FOLLOW US on FACEBOOK, TWITTER, INSTAGRAM, and PINTEREST to stay updated with more delicious food and our culinary adventures.
This post was originally published on July 18th, 2017, and has since been extensively updated and re-optimized for clarity, detail, and deliciousness.
Step-by-step photos and helpful tips are provided above to guide you through making this recipe perfectly.
Russian Salad – Insalata Russa
By Emily
5
10
15
6 servings
Russian Salad – a creamy and delicious salad also known as Olivier Salad or Insalata Russa made with peas, carrots and potatoes mixed together with a tangy mayonnaise dressing. It’s super easy to make and delicious served on sandwiches or as a side dish.
Ingredients
- 2 large carrots, (1.5 cups/240g), peeled and diced
- 1 medium sized potato, (1.5 cups/245g), peeled and diced
- 2/3 cup frozen peas, (100g)
- 2 tbsp capers, (1/8 cup/30g), finely chopped
- 4 baby gherkins or pickles, finely chopped
- 1/3 cup mayonnaise, (80g)
- 1/3 cup sour cream, (75g)
- Salt and freshly ground black pepper, to taste
Instructions
-
Peel and chop the potato and carrots into small, uniform cubes. Boil them in lightly salted water for 3-4 minutes, or until just cooked through but still firm. Add the peas for the last 30 seconds to 1 minute of cooking. Drain the vegetables immediately and run them under cold water until completely chilled. Pat them thoroughly dry with a clean kitchen towel and set aside.
-
To make the dressing, finely chop the gherkins (pickles) and capers. In a bowl, combine the chopped gherkins, capers, mayonnaise, and sour cream. Mix well until everything is thoroughly combined and smooth. Season with a pinch of salt and pepper.
-
Add the cooled and dried vegetables to the creamy dressing. Gently fold everything together until all the vegetables are evenly coated. For best results, chill the Russian Salad in the refrigerator for at least 30 minutes before serving to allow the flavors to meld. Serve as a side dish, on sandwiches, or as an antipasto.
Notes
- Variations: This salad is highly customizable. Feel free to add chopped cooked ham, chicken, hard-boiled eggs, fresh parsley or dill, or a spoonful of Dijon mustard to the dressing for extra flavor.
- Vegetables: Ensure potatoes and carrots are cut to roughly the same size (similar to peas) for even cooking and a consistent texture.
- Storage: Russian Salad can be stored in an airtight container in the fridge for 3-4 days. Freezing is not recommended as it will negatively affect the texture.
Helpful Info for All Our Recipes
- We always use extra virgin olive oil in all of our recipes unless stated otherwise.
- For the best results and flavor with canned or jarred tomatoes, we recommend Cirio or Mutti brands.
- All vegetables are medium sized unless specifically noted.
- All recipes are carefully tested and developed using a fan (convection) oven.
- Find out more about how nutrition is calculated on our site.
- Check out our must-have Italian Pantry Staples for authentic cooking.
- Discover all our Essential Kitchen Tools for Italian Cooking.
Nutrition
Nutrition information is automatically calculated and should only be used as an approximation.
Did you try this recipe?
Leave a comment below!