
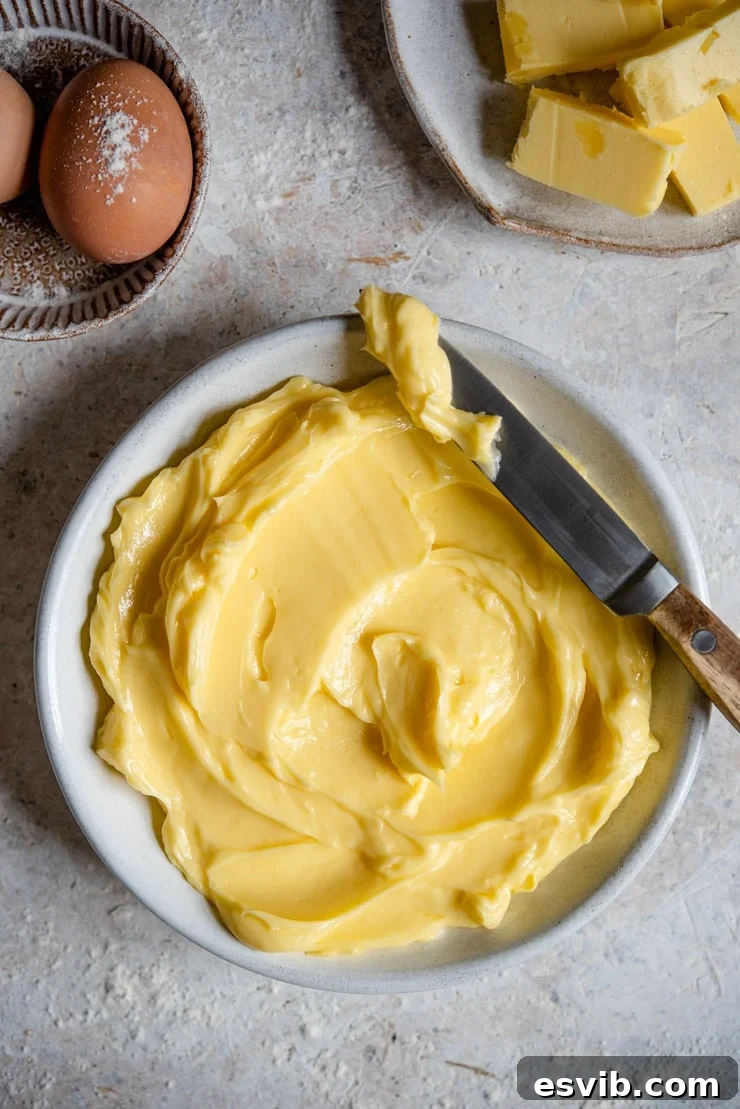
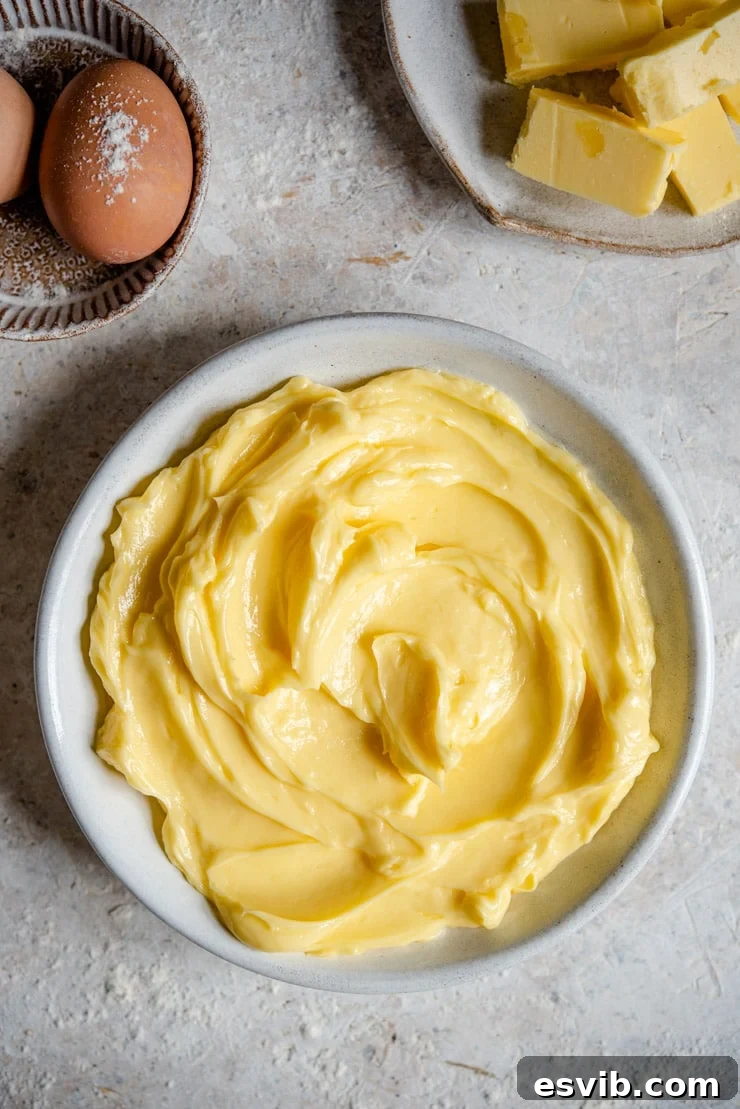
How to soften butter using the easiest method ever! If you’re doing some baking and need soft, creamy butter ASAP then this method is for you, and there’s not a microwave in sight! It takes only 5-10 minutes and works every single time without any risk of your butter melting.
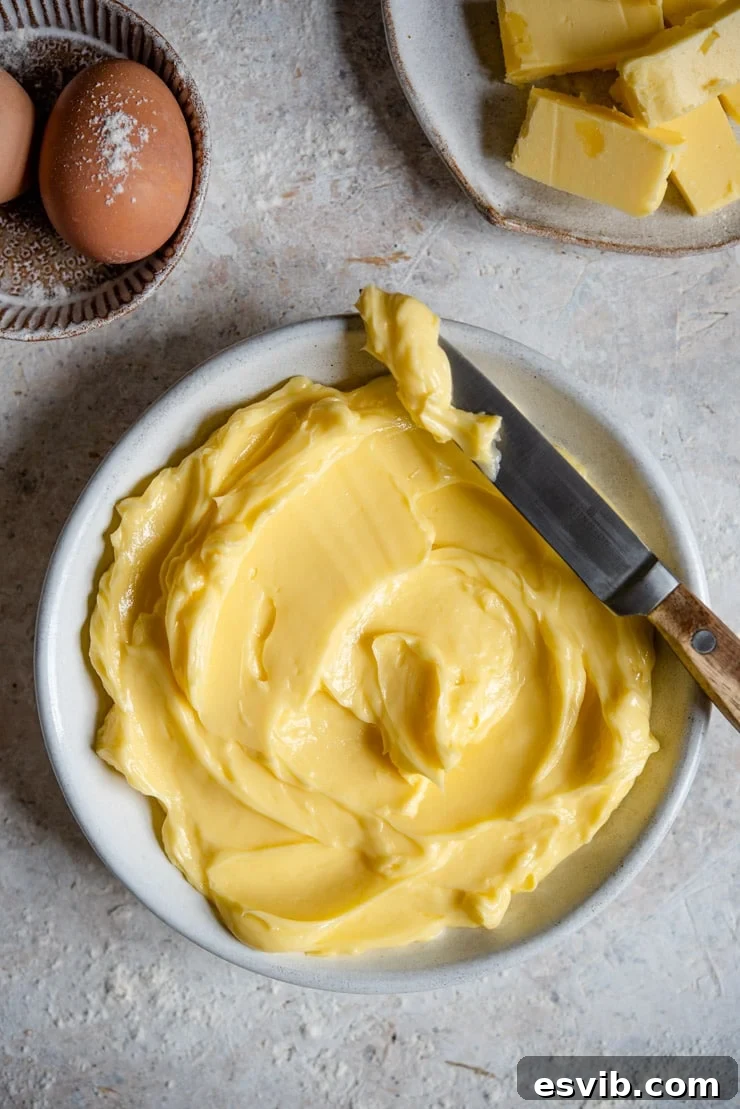
The Secret to Perfectly Softened Butter, Every Time
Every passionate baker understands the critical role of softened butter in achieving culinary perfection. From fluffy cakes and tender cookies to flaky pastries, the texture and consistency of your butter can truly make or break your baked goods. Cold, hard butter often leads to a lumpy batter, uneven mixing, and a disappointing final product. Yet, remembering to take butter out of the fridge hours in advance is a common oversight for even the most seasoned home cooks.
If you find yourself frequently facing this predicament, wishing for a quick yet foolproof solution, you’re in luck! This comprehensive guide introduces an incredibly simple, fast, and highly effective method to achieve perfectly softened, creamy butter in just 5 to 10 minutes. Best of all, it completely bypasses the microwave and its notorious risks of melting your precious ingredient, ensuring flawless results every time.
Why Room Temperature Butter is Non-Negotiable for Baking Success
Before we dive into our revolutionary method for how to soften butter, let’s briefly explore why softened butter is so vital for your baking endeavors. When butter is at room temperature (typically around 68-72°F or 20-22°C), it has a creamy, pliable texture that’s firm enough to hold its shape but soft enough to be easily blended. This ideal state allows it to perform several crucial functions in your recipes:
- Achieving Proper Emulsification: Softened butter creams beautifully with sugar, creating a light, airy mixture. This process incorporates tiny air pockets, which are essential for leavening and contribute to the fluffy texture of cakes and the tender crumb of cookies. Cold butter, on the other hand, struggles to emulsify, leading to dense, heavy results.
- Even Distribution: Soft butter blends uniformly with other ingredients, ensuring a consistent texture throughout your batter or dough. This prevents pockets of unmixed butter or sugar, which can lead to uneven baking and undesirable textures, such as dry spots or pockets of unincorporated fat.
- Preventing Lumps: When cold butter is added to a batter, it tends to break into small, hard pieces that are difficult to fully incorporate. These lumps can melt quickly during baking, creating greasy spots or gaps in your final product. Softened butter eliminates this issue, ensuring a smooth, cohesive mixture that bakes evenly.
- Enhanced Flavor and Texture: Properly softened butter integrates seamlessly into your recipe, contributing to a smoother mouthfeel and a richer, more uniform flavor distribution. The right consistency ensures your baked goods are light, airy, and delicious, rather than heavy or crumbly.
Neglecting this crucial step can lead to a host of baking disappointments: flat cookies that spread too much, tough cakes with a dense crumb, or crumbly pastries that lack flakiness. Understanding its importance highlights why having a reliable method to soften butter quickly is a game-changer for any home baker.
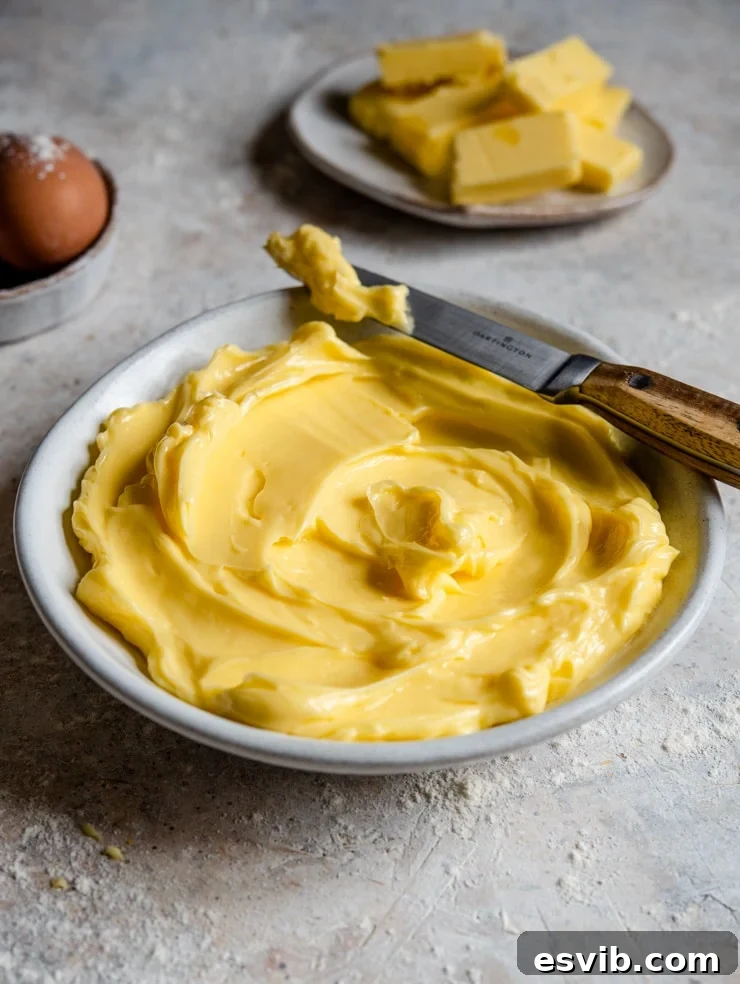
The Easiest & Safest Method to Soften Butter: The Gentle Water Bath Technique
Say goodbye to long waits and risky microwave attempts! This ingenious water bath method is not only incredibly fast but also ensures your butter softens perfectly without any fear of melting. It’s the ultimate quick butter softening hack for bakers who often forget to plan ahead. Here’s exactly what you’ll need to achieve that perfect creamy consistency:
What You Need to Soften Butter Quickly:
- Butter: This method works best with cold butter, straight from the fridge.
- A Medium-Sized Bowl: Choose a bowl large enough to comfortably hold your desired amount of butter and sufficient water for submergence.
- Tepid or Warm Water: The precise temperature of the water is the secret to this entire process. We’ll detail the ideal temperature shortly, but remember: NOT hot!
That’s truly all! No special equipment, no fancy gadgets, just these three simple items. Get ready to transform your cold, hard butter into a creamy, bake-ready state in mere minutes, ensuring your recipes turn out perfectly every single time.
Step-by-Step Guide to Perfectly Soften Butter:
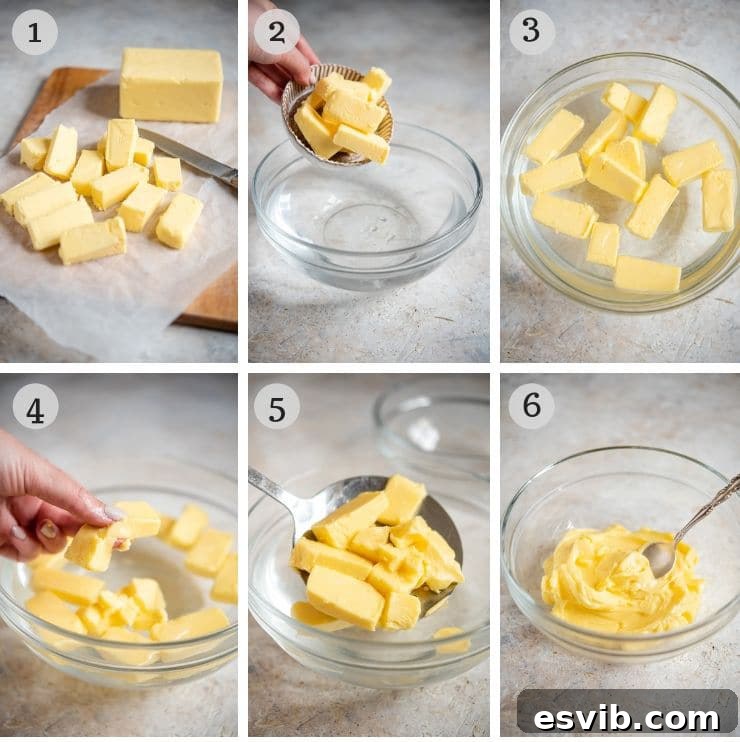
- Prepare Your Butter: First, accurately measure the amount of butter required for your recipe. For optimal softening speed, cut the cold butter into small to medium-sized cubes or pieces. The smaller the pieces, the larger the surface area exposed to the warm water, significantly accelerating the softening process. (Refer to photo 1 in the original article for a visual guide on cutting butter).
- Fill Your Bowl with Water: This is a critical step. Fill your chosen bowl with tepid or slightly warm water. The water should feel just warm to the touch, not hot or even very warm. We’re aiming for a gentle temperature range of approximately 30-33°C (86-91°F). Testing with your finger is usually sufficient – it should feel pleasant and comfortable, not scalding.
- Submerge the Butter: Gently add your cut butter pieces to the bowl of tepid water. Ensure all the butter is fully submerged. Let the butter sit in the water for about 5 to 10 minutes. The exact time may vary slightly depending on the initial temperature of your butter and the size of your pieces. For very cold butter or larger chunks, it might take closer to 10 minutes. (See photos 2 & 3 for visual reference of butter in water).
- Check for Softness: After 5 minutes, carefully remove one piece of butter from the water and gently press it between your fingers. It should yield easily, leaving a slight indentation, but still hold its shape without feeling greasy or melted. If it feels too firm, return it to the water for a few more minutes. If it feels greasy or has melted edges, your water was too hot, or it was left for too long, in which case it may not be suitable for creaming.
- Drain and Use: Once the butter has reached the desired consistency, carefully scoop it out of the bowl. A slotted spoon works wonderfully for this, allowing the water to drain away quickly. Give the butter a gentle shake to remove any excess water droplets. Your perfectly softened, creamy butter is now ready to be incorporated into your baking recipe! (Illustrative photos 4-6 in the original article show the scooping and draining step).
The Science Behind Perfect Butter Softening: Why Temperature is Key
The unparalleled success of this method hinges entirely on maintaining the correct water temperature. It’s a delicate balance that expertly prevents melting while encouraging rapid softening. Here’s why this specific temperature range works wonders for your butter:
- Butter’s Precise Melting Point: Butter has a relatively low melting point, typically between 82-95°F (28-35°C), though this can vary slightly based on its fat content and whether it’s salted or unsalted. By using water that is *just* warm or tepid, specifically in the 30-33°C (86-91°F) range, you’re providing enough gentle heat to bring the butter up to its ideal room temperature quickly, without ever exceeding its critical melting point.
- Efficient and Even Heat Transfer: Water is an excellent conductor of heat. Submerging the cut butter pieces in water ensures even heat transfer across all surfaces, allowing the butter to soften uniformly from the outside in. This is significantly superior to air-based methods, which are much slower and often result in butter that’s soft on the exterior but still cold and hard in the center.
- Eliminating the Risk of Melting: This is the paramount advantage and the reason this method is so forgiving. Because the water temperature is carefully controlled to be comfortably below butter’s melting point, you can leave the butter in the bath for a slightly longer period (e.g., up to 10 minutes) without the fear of it turning into a greasy puddle. This provides a forgiving window, making the method incredibly user-friendly and reliable for quick butter softening, even if you get slightly distracted.
- Maintaining Butter’s Structure: Gentle warming allows the butter to soften while maintaining its emulsion of fat and water. Rapid or excessive heat (like in a microwave) can break this emulsion, leading to separation and an oily, unusable consistency for baking, which can dramatically affect the texture of your final product.
Why This Water Bath Method Outperforms Other Quick Softening Techniques
While various methods exist for softening butter quickly, many come with significant drawbacks that our gentle water bath technique skillfully avoids, making it the superior choice for consistent baking results:
- The Risky Microwave Method: This is arguably the most common and riskiest approach. Microwaves heat unevenly and rapidly, often leading to butter that is melted in some spots and still cold in others. Even a few seconds too long can transform your butter from perfectly softened to a liquid mess, rendering it unusable for most baking recipes that rely on creaming. The precision required makes it prone to frustrating errors.
- The Laborious Rolling or Pounding Method: Some bakers attempt to soften butter by placing it between sheets of parchment paper and rolling it flat with a rolling pin or pounding it with a meat mallet. While this can work, it’s often messy, requires considerable physical effort, and can still result in uneven softening, especially if the butter is very cold. It’s also impractical for large quantities of butter or if you need precise measurements.
- The Inconsistent Hot Bowl Method: This involves heating a bowl in the microwave or with hot water, then inverting it over a stick of butter to create a warm environment. While generally better than direct microwaving, it still carries a melting risk if the bowl is too hot, and the butter often softens unevenly, with the bottom melting while the top remains firm. The heat dissipates quickly, making it less efficient.
- The Messy Grating Butter Method: Grating butter speeds up the softening process by significantly increasing its surface area. However, it’s undeniably messy, can be cumbersome, and you still need to wait a bit for the grated butter to truly reach room temperature, making it a less “instant” solution. Plus, it can be difficult to measure grated butter accurately for some recipes.
- The “Leave it Out” Method: While effective, this requires hours of foresight, which busy schedules often don’t allow. This method is designed precisely for those moments when you’ve forgotten to plan ahead.
Our water bath method eliminates these common frustrations. It offers a consistent, gentle, and rapid way to achieve that perfect creamy consistency without any of the common pitfalls, making it the most reliable and efficient way to soften butter quickly for consistently flawless baking results.
Expert Tips for Using This Butter Softening Method
To ensure your absolute success with this incredibly useful technique and guarantee perfectly softened butter every time, keep these additional expert tips in mind:
- Don’t Fear Watery Butter: It’s a fundamental principle of chemistry: fat and water don’t mix. Your butter will not absorb the water. The key is to properly drain it before use. A slotted spoon is ideal for scooping out the butter, allowing any excess water to drip away instantly. A gentle shake of the spoon or a quick blot on a clean paper towel will ensure your butter is perfectly dry and ready for your recipe, without affecting its consistency or flavor.
- Always Start with Water: This seemingly minor detail is crucial. Fill your bowl with water *first*, then carefully adjust its temperature before adding the butter. This allows you to accurately gauge and adjust the water temperature to the tepid range before the butter is introduced, completely preventing accidental melting.
- Avoid Overcrowding the Bowl: If you’re softening a large quantity of butter (e.g., more than one stick or a substantial block), it’s far better to divide it between two bowls with separate water baths. Overcrowding can hinder even heat distribution and significantly slow down the softening process, leading to inconsistent results.
- Precise Temperature Control (Optional but Recommended): While a finger test is usually sufficient for judging tepid water, if you prefer ultimate precision, use a kitchen thermometer. Aim for a temperature range of 30-33°C (86-91°F). This ensures the butter softens efficiently without ever reaching its melting point, guaranteeing perfect results every time.
- Handling the Softened Butter: After scooping the butter out with a slotted spoon (or even your clean hands), give it a slight shake to remove any clinging water. Transfer it immediately to a clean mixing bowl or plate, and it’s ready to be incorporated into your recipe. Do not let it sit in the water longer than necessary once soft.
- Salted vs. Unsalted Butter: This method works equally well for both salted and unsalted butter. Just ensure you’re using the type specified in your recipe, as butter type can impact flavor and leavening.
- Prevent Re-Chilling: Once butter is perfectly softened using this method, it’s best to use it relatively quickly. If you let it sit out for an extended period, especially in a warm kitchen, it might become too soft, greasy, or even begin to separate. If you’ve softened too much, it’s generally best to use it or keep it at room temperature if your recipe allows, rather than attempting to re-chill it, which can alter its ideal texture for baking.
- Uniformity is Key: Cutting your butter into uniform pieces ensures that all the butter softens at roughly the same rate, preventing some pieces from becoming too soft while others remain firm.
Frequently Asked Questions About Softening Butter
- Q: What does “room temperature butter” really mean?
- A: Room temperature butter refers to butter that is cool to the touch but soft enough to leave an indentation when gently pressed with your finger. It should be pliable, creamy, and hold its shape, but not appear shiny or greasy. The ideal temperature is typically around 68-72°F (20-22°C).
- Q: Can I use this method for other fats like coconut oil or margarine?
- A: While the principle of gentle warming applies, this method is specifically designed for dairy butter. Coconut oil and margarine have different melting points and compositions, so results may vary. For coconut oil, a warm room or very short bursts in a microwave are often more suitable if it’s solidified. Always check the specific requirements for other fats.
- Q: How long can softened butter safely stay out of the fridge?
- A: Unsalted butter can safely stay at room temperature for a few hours. Salted butter, due to its preservative qualities, can generally stay at room temperature for up to two days in a covered butter dish, depending on your kitchen’s temperature. For longer storage, or if your kitchen is very warm (above 75°F/24°C), it’s best to refrigerate it.
- Q: My butter melted! What went wrong?
- A: If your butter melted, it means the water you used was too hot. The key to this method is *tepid* (gently warm) water, not hot water. Ensure the water feels just barely warm to the touch, well below the butter’s melting point. Discard the melted butter for baking purposes (it can still be used for cooking or sautéing) and start again with cooler water.
- Q: Does this method work with sticks of butter or block butter?
- A: Yes, it works beautifully for both. The most important factor is cutting the butter into smaller, uniform pieces, regardless of its original form, to facilitate faster and more even softening.
- Q: Can I re-chill butter that became too soft?
- A: While you technically can re-chill butter, its texture might be altered, becoming harder and less creamy than ideal for baking. If butter becomes too soft or starts to melt, it’s often best to reserve it for other uses (like making garlic bread or sautéing) and use fresh, cold butter for your baking recipe to ensure optimal results.
Simplified Recipe Card: How to Soften Butter – Easiest Method Ever
How to Soften Butter – Easiest Method Ever
By Emily
Prep time: 10 mins
Total time: 10 mins
Servings: 1 stick of butter (or desired amount)
This foolproof method guarantees perfectly softened, creamy butter for all your baking needs in just 5-10 minutes, without any risk of melting or using a microwave.
Equipment
- Medium-sized bowl
Ingredients
- Butter (cold, from the fridge)
- Water (tepid/warm, around 30-33°C / 86-91°F)
Instructions
- Measure the required amount of butter from the fridge and cut it into small to medium-sized pieces or cubes to facilitate quicker and more even softening.
- Fill a medium-sized bowl with tepid or slightly warm water (around 30-33°C / 86-91°F). It’s crucial that the water is gentle and not hot.
- Submerge the butter pieces completely in the water and let them sit for 5-10 minutes.
- Check for desired softness by gently pressing a piece of butter between your fingers. It should yield easily, leaving an indentation, but still hold its shape without being greasy.
- Once softened, carefully scoop the butter out of the bowl using a slotted spoon or your clean hands, shaking off any excess water. Your perfectly softened butter is now ready to use for baking!
Notes
- Fat and water do not mix. Ensure you drain the butter thoroughly to remove any clinging water droplets before adding it to your recipe.
- Always fill the bowl with water first to accurately set the temperature before adding the butter.
- If softening a large amount of butter, use two separate bowls to avoid overcrowding and ensure even softening.
- For precise temperature, use a kitchen thermometer; otherwise, ensure the water feels gently warm, not hot, to the touch.
- A slotted spoon is ideal for draining the butter. Give it a gentle shake before transferring it to another bowl.
Nutrition (Approximate per 1 stick of butter)
- Calories: 810 kcal
- Carbohydrates: 1g
- Protein: 1g
- Fat: 92g
- Saturated Fat: 58g
- Trans Fat: 4g
- Cholesterol: 243mg
- Sodium: 807mg
- Potassium: 27mg
- Sugar: 1g
- Vitamin A: 2824 IU
- Calcium: 27mg
- Iron: 1mg
Nutrition information is automatically calculated and should only be used as an approximation. Actual values may vary.
More Helpful Baking & Kitchen Resources
Beyond perfectly softened butter, elevating your baking and cooking game often comes down to using high-quality ingredients and having reliable tools. Here are some additional resources to help you achieve consistent success and expand your culinary skills in the kitchen:
- We always recommend using extra virgin olive oil in all of our recipes unless specifically stated otherwise, for its superior flavor and health benefits.
- When a recipe calls for canned or jarred tomatoes of any kind, we consistently use premium brands like Cirio or Mutti for the best results, authentic flavor, and consistent quality.
- Unless specified otherwise within a recipe, assume all vegetables mentioned are medium-sized for consistent measurements and cooking times.
- All our recipes are meticulously tested and developed using a fan (convection) oven to ensure reliable outcomes and consistent performance in your home kitchen.
- Understanding the nutritional aspects of your food is important. Find out more about how nutrition is calculated on our site, including our methodologies and disclaimers.
- Stock your kitchen with confidence by exploring our comprehensive guide to Essential Italian Pantry Staples, ensuring you have the foundational ingredients for authentic flavors.
- Equip your kitchen with the right gear by checking out our recommendations for Essential Kitchen Tools for Italian Cooking, from basic utensils to specialized equipment.
We hope this detailed guide empowers you to achieve perfectly softened butter every time, leading to even more delicious and successful baking adventures! If you’ve tried this method for How to Soften Butter or have any questions, please let us know how you got on in the comments below. We love hearing from you and seeing your baking successes! You can also FOLLOW US on FACEBOOK, INSTAGRAM, and PINTEREST to see more delicious food, behind-the-scenes content, and what we’re getting up to.